

Sidekix Cloud Nail Strips: Easy, Vegan, Long Lasting
$8.99
Sidekix Nail Polish Strips are easy-to-apply nail stickers with a cloud design, made with vegan and cruelty-free ingredients. These strips are 100% nail polish, require no dry time, and are long-lasting, providing a quick and stylish manicure without the harmful chemicals
Description
| Item Form | Strip |
|---|---|
| Brand | Sidekix |
| Color | Cloud |
| Age Range (Description) | Adult |
| Finish Type | Glossy |
| Liquid Volume | 1 |
| Material Type | Free Lead Free |
| Product Description | 20 High-quality thick custom nail polish stickers you can DIY at home | includes cleansing nail wipes, nail file, and cuticle stick | Our custom nail wraps are long lasting, 100% real nail polish, no dry time & easy to apply | No UV/LED lamp required. Perfect for weddings, special events and date night! We offer professional high-quality manicured nails that are incredibly easy to apply yourself at home. |
| Easy application | Lasts for over a week. Our nail wraps are also 100% Non Toxic, Vegan & Cruelty-Free! Choose from our custom designs in sparkle silver polish, red, navy, glitter, metallic, light pink & other nail polishes without the mess. |
| Nail kit includes | 4 nail polish coats in one; a non-toxic top-coat, color decals coat, base coat, & adhesive layer for your fingernails. |
| Longevity | No chipping and long lasting: Sidekix nail wrap stickers last up to 7 days. They don’t chip, leaving your nails looking fresh days after applying! They are super easy to apply and leave no mess! Nail stickers as opposed to nail polish leaves no toxic fumes, no chemical smell, and no smudging! |
| Application Steps | Step 01: Begin by thoroughly washing your hands with soap and water prior to prep. Next, wipe away excess oil, dirt, and moisture using the included alcohol prep pad. Step 02: After thoroughly wiping nails, select a nail strip that coordinates with your finger size, peel off strip, and apply to finger nail allowing a small gap between the strip and the cuticles. Step 03: Press and smooth nail strip onto finger nail by firmly stroking strip until it adheres. Use your wooden nail stick to tuck and press the edges of the strip to ensure prolonged adhesion. Step 04: Once nail strip is firmly adhered to nail, use a nail clipper to cut off the excess of the strip. Alternatively, If you do not have a nail clipper handy, you can also fold the strip over the edge of the nail and file away the excess strip at the fold. Step 05: Once the strip is clipped down, use your included nail file to finish and smooth out the top edge. Step 06 (OPTIONAL): After application is complete, you have the option to seal your nail sticker with a clear top coat if you desire. Although not mandatory, this step is great to implement 3-7 days after the original application in order to maintain a glossy sheen on the nail strip surface. |
Related Products
-
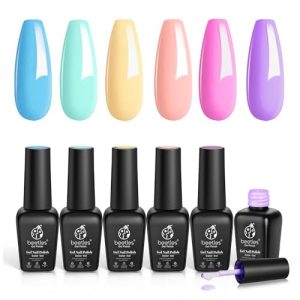
Unicorn Collection Gel Nail Polish Set – 6 Pastel Colors
Read more -
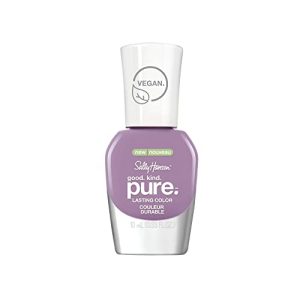
Sally Hansen Vegan Nail Colour, Laven-Dear, 0.33 Fl Oz
Read more -
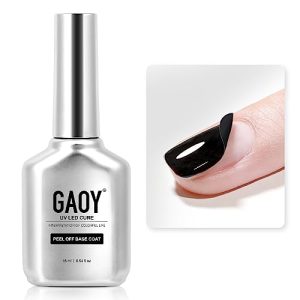
Peelable Gel Base Coat for Gel Nail Polish, 16ml
Read more -

OPI Thrill of Brazil Red Nail Polish, 0.5 oz
$11.49 Buy Now -
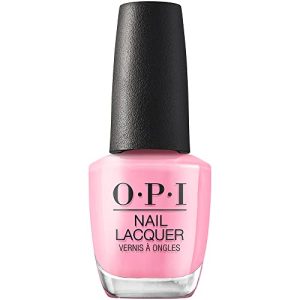
OPI Pink Crème Nail Polish, Chip Resistant, Fast Drying – 0.5oz
Read more -
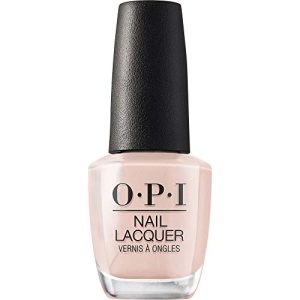
OPI Pale to the Chief Nude Nail Polish, Washington DC Collection, 0.5 fl oz, Long-lasting Formula
Read more -

Nude Sheer Pink Cat Eye Gel Nail Polish 15ml 9D Cateye Galaxy Shimmer Velvet Ice Pink – UV LED Curing – Single Bottle
$7.99 Buy Now -
Mini Soak-Off Gel Polish, No Way Rose – 9ml
Read more -
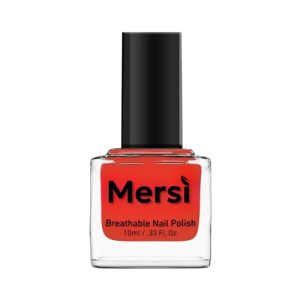
Mersi Cosmetics Halal Vegan Nail Polish (Red Beach) 10ml
Read more -

Large Bottle Pearl Red Gel Polish, UV/LED Soak Off, Spring/Summer
Read more -
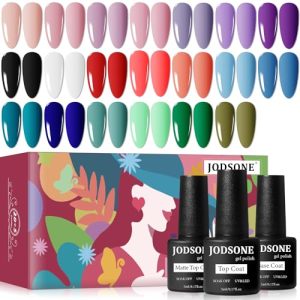
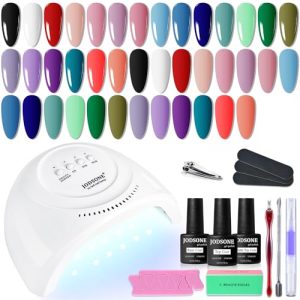
JODSONE Gel Nail Set 20 Colors High Shine Gorgeous Gel Polish Base Top Matte Coat – Gift Ready
Read more -
JODSONE 20 Colors Gel Nail Polish Kit with U V Light Base Top Matte Coat High Shine Vibrant Nail Gel Equipped with Manicure Tools
Read more -
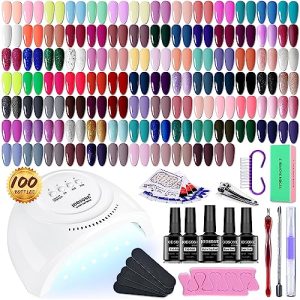
JODSONE 100 PCS Gel Nail Polish Starter Kit with U V Light 95 Colors Macarons Combined with Dark Colors Nail Gel No Wipe Base Coat Top Matte Coat Long Lasting Shine Gel Polish – Complete Set
Read more -
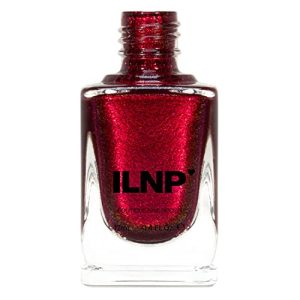
ILNP Ruby – Vibrant Red Shimmer Nail Polish, 12ml
$10.00 Buy Now -
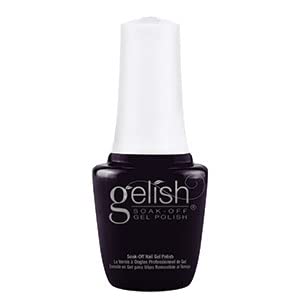
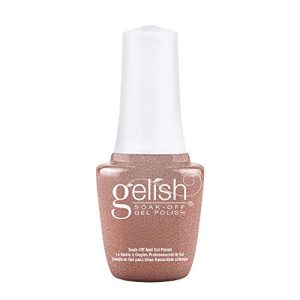
Gelish Mini Fall Collection: Plaid Reputation Gel Nail Polish, 3 oz (Follow Suit, 9mL)
Read more -
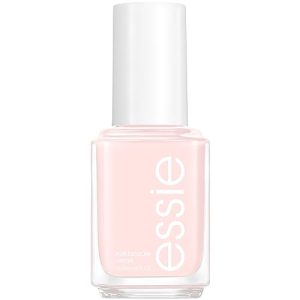
Essie Vanity Fairest Nail Polish, Glossy Shine, 0.46 fl. oz
Read more -
Sale!
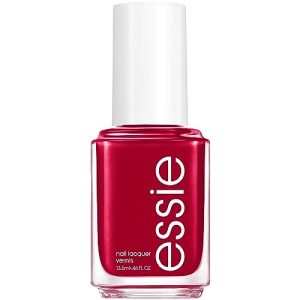
Essie Tango Red Vegan Nail Polish, 0.46 fl oz
Original price was: $10.00.$9.03Current price is: $9.03. Buy Now -
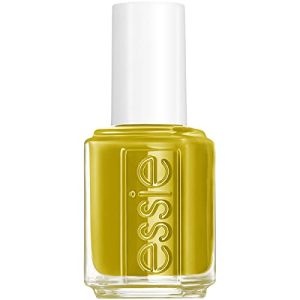
essie Salon-Quality Nail Polish, Mid-Tone Yellow, My Happy Bass, 0.46 fl oz
Read more -
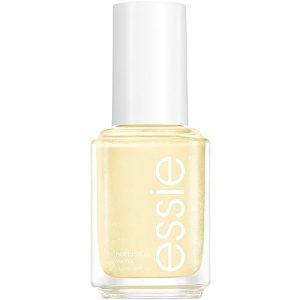
Essie Nail Polish, Salon-Quality, 8-Free Vegan, Lemony Yellow, Sunny Business, 0.46 fl oz
Read more -
essie Nail Polish, Glossy Shine Finish, Fishnet Stockings, 0.46 fl. oz.
Read more -

Essie Gel Couture Long-Lasting Nail Polish, Vibrant Purple, 0.46 oz
Read more -
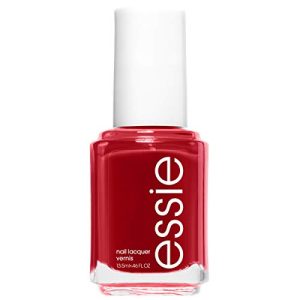
Essie Gel Couture Long-Lasting Nail Polish, Scarlet Red, 0.46 oz
Read more -
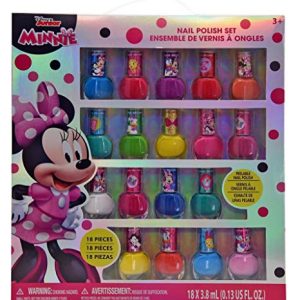
Disney Junior Minnie Nail Polish Set – 18 Pieces, Non-Toxic
$20.68 Buy Now -

Blooming Gel Nail Polish, 15ml Blossom Marble Nail Art Gel – UV LED Lamp Soak Off – Mother’s Day Gift
$18.15 Buy Now -
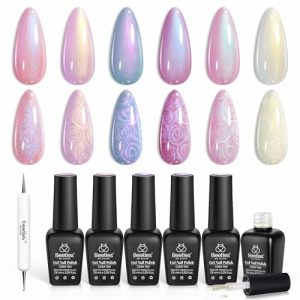
Beetles Pearl Gel Nail Polish, 6 Colors Shimmer Pearl White Pink Purple Mermaid Nail Drawing Summer Gel Polish Soak Off Uv Led Gel Polish Swirl Shell Thread Effect DIY Manicure Gift for Girls Women
$15.99 Buy Now -
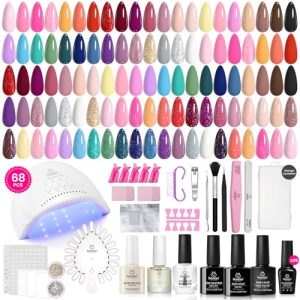
Beetles Gel Nail Polish Kit with U V Light – 68 Pcs Set 35 Colors Pink Glitter Nude Gray Gel Polish with Base and Matte&Glossy Top Coat Vivid Seasons Gel Nail Set Nail Art Manicure Tools Gifts
Read more -
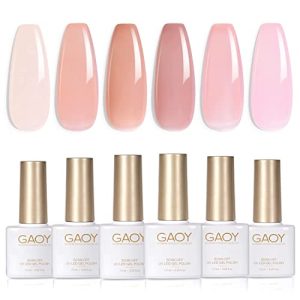
6-Piece GAOY Jelly Nude Pink Sheer Gel Polish Set
Read more -
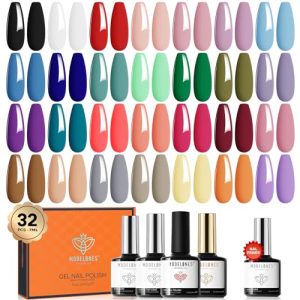
32 PCS Gel Nail Polish Set: 28 Colors, Glossy & Matte Top Coat, Gifts for Women
$29.99 Buy Now -
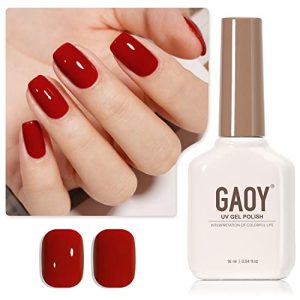
16ml GAOY Ruby Red Gel Nail Polish, Soak Off UV Light Cure, Color 1154
Read more -
16ml GAOY Black Gel Nail Polish, Color 1001 Soak Off UV Light Cure for DIY Manicure
Read more